Tel./WhatsApp:
+86 15266206885
E-mail:
[email protected]


Avoid your inquiry is delay response, please enter your WhatsApp/Skype along with the message, so we can contact you at the very first time.
We will reply you within 24 hours. If for urgent case, please add WhatsApp/WeChat: ,. Or call directly.
Labeling errors used to slow down my packaging line. Wrong labels, crooked placement, or missing trace codes caused rework and shipping delays.
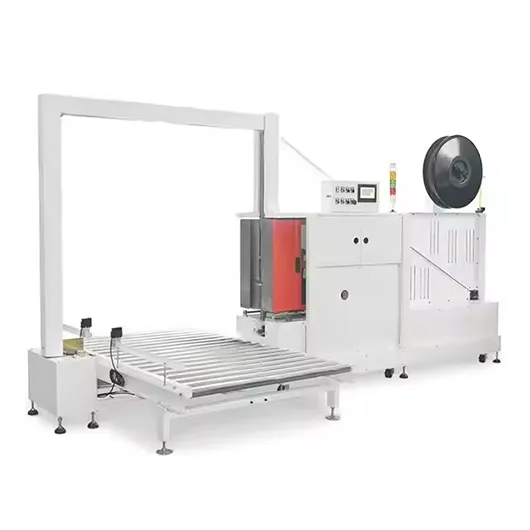
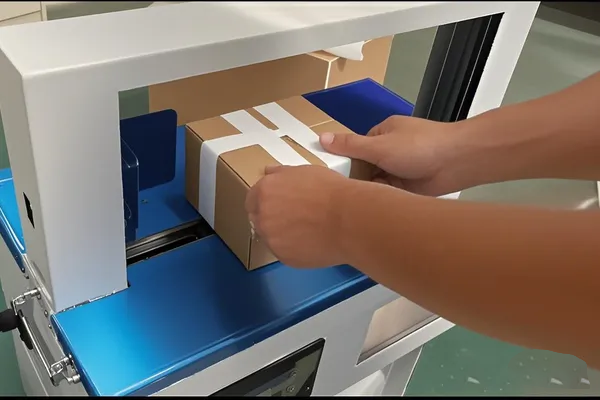
The automated labeling process uses machines to place labels on products with speed and accuracy. It eliminates human mistakes and helps meet output targets.
I’ve worked in factories where even a small labeling mistake could result in rejected batches. That’s why I decided to switch to automated labeling. It was one of the best upgrades I’ve made.
Manual labeling always felt like a gamble. Some days were smooth. Other days, labels were applied upside down or in the wrong spot.
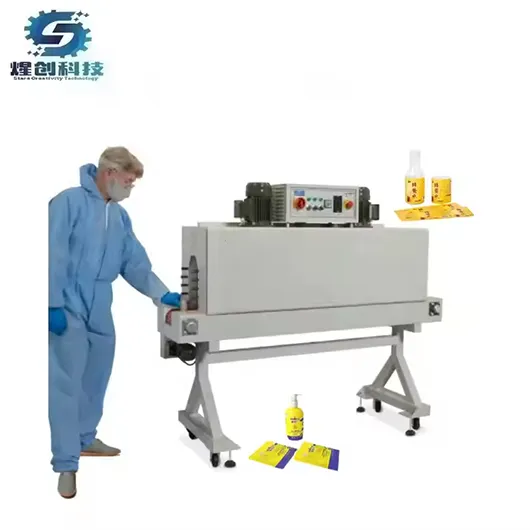
Automated labeling1 works by detecting products on a conveyor, then applying labels using air-blow, tamp, or wipe-on systems controlled by a PLC.

Let me walk you through what I see on our line every day:
| Stage | What Happens |
|---|---|
| Product Detection | Sensors recognize an item is approaching |
| Label Ready | The right label is pulled from a roll or printed in real-time |
| Label Applied | The applicator attaches the label to the correct surface |
| Position Checked | Cameras or sensors confirm label accuracy |
| Faults Handled | If anything’s off, the product is removed or flagged |
In our case, the system is linked to our ERP. When we switch to a new SKU, the system loads the matching label format on its own. No one needs to manually update settings. That has made our shift changes faster and our labeling more reliable.
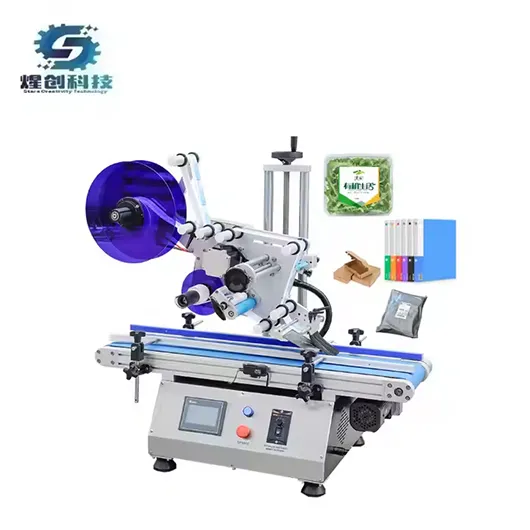
When I first looked into labeling machines, I didn’t realize how each part of the system had a specific job. It’s not just one machine — it’s a team of parts working together.
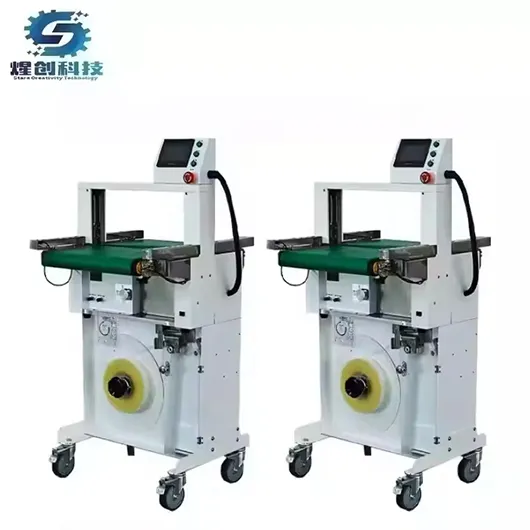
An automated labeling system2 includes a label dispenser, applicator arm, control system, sensors, and optional print modules or verification tools.
Here’s a breakdown of what we use on our line:
| Component | Function |
|---|---|
| Dispenser | Feeds out the label from a roll |
| Applicator | Attaches label using air or mechanical pressure |
| Sensors | Detect the product and its position |
| PLC Controller | Tells the system what to do and when |
| Printer (Optional) | Prints date codes or batch numbers |
| Verifier (Optional) | Scans the label to ensure it’s correct |
On one of our lines, we apply top labels on pouches. On another, we do wrap-around labels for bottles. We use different applicator heads, but the controller stays the same. That’s the advantage of modular systems. I can scale up or swap modules without redoing the whole setup.
Before switching to automation, we had to hire two people per line just for labeling. We also had frequent mix-ups — wrong languages, misplaced logos, or faded prints.
Automated labeling3 boosts output, reduces labor, and improves accuracy — all critical for meeting customer expectations and audit requirements.
Let me list out what actually changed after we automated:
We went from 40 units per minute to 150+. That’s nearly 4x the speed without needing to add shifts.
Every label is placed within the same tolerance. No more crooked logos or text misalignment. We pass QA checks without issue.
Although we invested in equipment upfront, we saw ROI in less than a year. Fewer operators. Less rework. Lower scrap rate.
| Factor | Manual Labeling | Automated Labeling |
|---|---|---|
| Labor Needed | 2 per shift | 0.5 (for monitoring) |
| Error Rate | 5–10% | <1% |
| Downtime | Frequent | Rare |
| Traceability | Manual logs | Full digital |
When my customers started requesting serialized labels and QR codes, I was ready. I just added a print-and-apply head with a data feed. That alone helped us win a private-label contract that required traceability.
It’s easy to get lost comparing dozens of machines online. I’ve been there. What helped me was asking one simple question: “What problem am I solving?”
Choose your labeling machine based on product shape, label location, production speed, and your existing factory layout.
Here’s a simple checklist I wish I had when I started:
Are you labeling bottles, jars, flat boxes, or odd shapes? Each requires a different type of applicator and conveyor system.
Do you need to apply one label or two? Wraparound or just top? Pre-printed or printed on the spot? These affect what machine setup you need.
Always buy 20–30% more capacity than you need. If you’re running at max speed from day one, there’s no room to grow.
Don’t forget the space and alignment. Make sure the machine fits into your conveyor layout and connects with existing upstream/downstream systems.
| Question | Why It Matters |
|---|---|
| What shape is my product? | Defines required applicator type |
| How many SKUs do I run? | Impacts changeover time needs |
| Do I need printing? | Adds printer integration or skip |
| What’s my daily volume? | Helps size the right speed rating |
| How will this connect? | Ensures smooth upstream/downstream sync |
After running into jams with a bottle labeler I bought without checking diameter tolerance, I learned the hard way. Now I always test with real samples before placing an order.
Labeling is no longer just a finishing step. It’s part of the core process. Automating it helped me cut costs, boost reliability, and win bigger contracts.
Explore how automated labeling enhances efficiency and accuracy in production, reducing errors and improving workflow. ↩
Explore this link to understand the intricacies of automated labeling systems and their components, enhancing your knowledge in this field. ↩
Explore how automated labeling can enhance efficiency and accuracy in your operations, leading to significant cost savings and improved customer satisfaction. ↩