Tel./WhatsApp:
+86 15266206885
E-mail:
[email protected]


Avoid your inquiry is delay response, please enter your WhatsApp/Skype along with the message, so we can contact you at the very first time.
We will reply you within 24 hours. If for urgent case, please add WhatsApp/WeChat: ,. Or call directly.
When boxes get built by hand, output swings with every shift. Small mistakes turn into rework, late departures, and angry customers. The pain shows up fast when volumes rise. We solve it by standardizing the box step with a case erector and then closing every box the same way with a case sealer.
An automated line uses a case erector to form a flat blank into a ship-ready case, then a case sealer to close and seal cases consistently. It is a simple idea: fewer manual steps, steadier quality, and a line that can scale with demand.
A case erector takes a flat blank and turns it into a squared, ready-to-fill shipping case. In day-to-day work, it removes the most repetitive motion from the line and makes the case shape the same from the first unit to the last.
Here is why this matters for B2B buyers: box building is repetitive, but it is also quality-critical, and it directly affects daily productivity. If the case is not square, you fight jams all day. That hurts line flow and increases product damage during transport because weak corners collapse.
This is where automation helps. It is not only about speed. It is about stable output you can trust, shift after shift, under real variability.
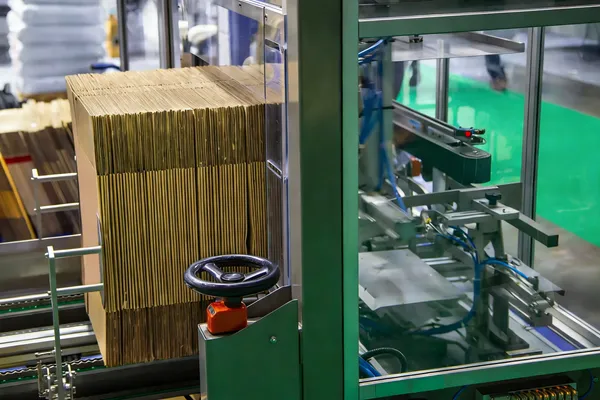
What does a case erector doWhat does a case erector do
People use two phrases in different ways. Case erecting is opening and squaring the blank. Case forming usually includes squaring plus closing and securing the bottom so the case can travel forward as one of your formed cases.
Board quality also matters. Corrugate changes with humidity and storage time. A well-designed system controls squaring force and hold-down so the machine can erect the case without bending corners, then closes the bottom flaps (each flap must fold cleanly) so the case can travel forward as one of your formed cases.
A quick shop-floor check helps: measure both diagonals on the case opening. When the diagonals match, the case is square—important for any shipping carton that must survive handling. That simple check improves repeatability in audits.
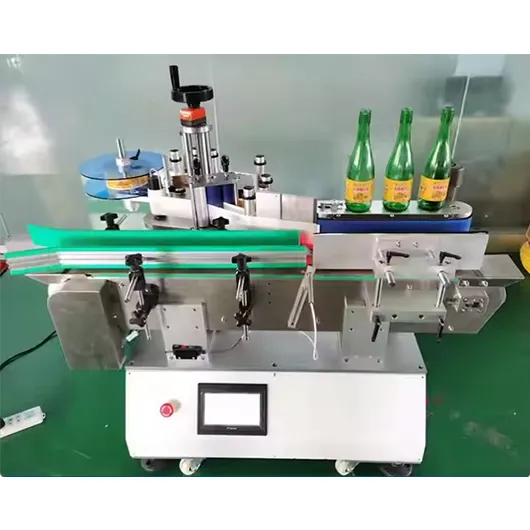
A case sealer closes the top and applies a closure. The main choice is tape or glue. Tape is flexible for mixed items. Adhesive can be clean and strong, but it needs the right compression and timing—especially when board surfaces vary.
If you use adhesive, plan the bonding method and the board surface. Many plants use hot melt for quick set, and some specify hot melt glue for consistent bonding on stable board. In certain tests, teams also request a specific hot-melt glue pattern to pass drop trials.
Your acceptance checks should be simple and visible:
This is “boring work,” but it protects your brand and your chargebacks, and it makes case sealing results easier to audit.
Most B2B operations run many SKUs, so changeover is not optional. The first step is defining your size window, not in general terms, but as your real range of case sizes.
If you run different case sizes, reduce human error with simple settings and clear labels. We recommend a setting card at the machine with the exact steps, photos, and measured points. That keeps output stable even with staff rotation and seasonal hires.
A practical routine:
Not every site needs maximum automation. If product mix is high and runs are short, a semi-automatic case workflow can make sense. It gives operators flexibility with less integration work, especially when SKU turnover is extreme.
If volumes are steady and you want stable output with fewer hands, choose fully automatic flow. In our projects, this is where teams most often save on labor and reduce labor costs without sacrificing quality. It also makes labor planning easier when overtime and turnover are real.
The trade-off is simple: higher automation demands more discipline in blank supply, jam recovery, and settings control. The benefit is steadier output and calmer work.
What does a case erector doWhat does a case erector do
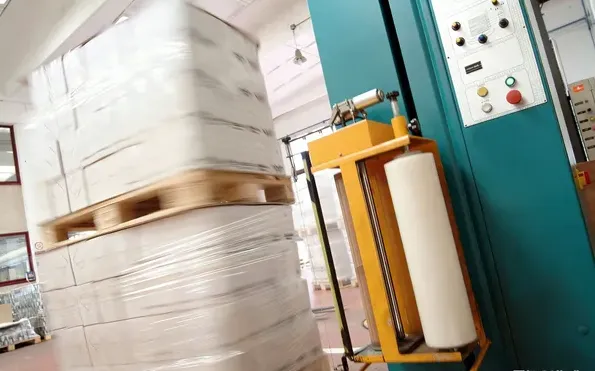
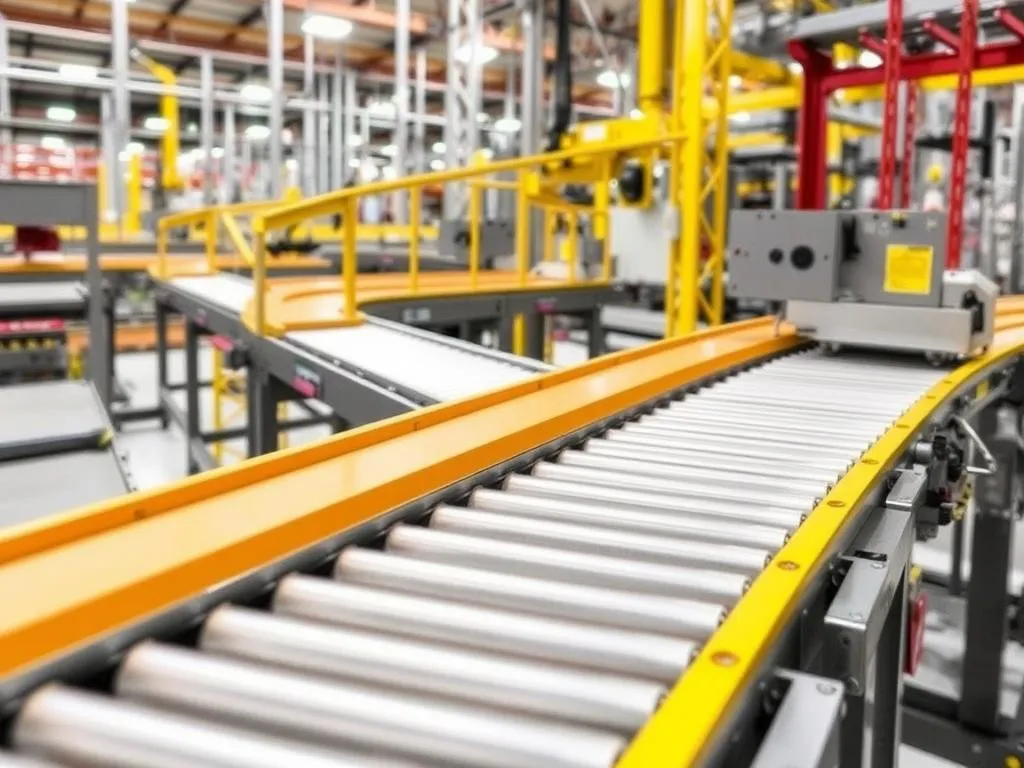
Layout is a performance tool at the end of the line. Bad access turns small issues into long stops. Tight bends and poor guides cause skew. This is why we start with access first, then fit the machines.
Two terms guide most projects:
In a real production line, the best layout is the one that lets an operator clear a jam in seconds, not minutes. That is also where you protect your floor space without sacrificing safety.
This is also where end-of-line packaging design makes a difference in daily life—and where smart end of line packaging reduces stops and operator walking.
A simple layout checklist for end of line packaging:
End-of-line packaging layout
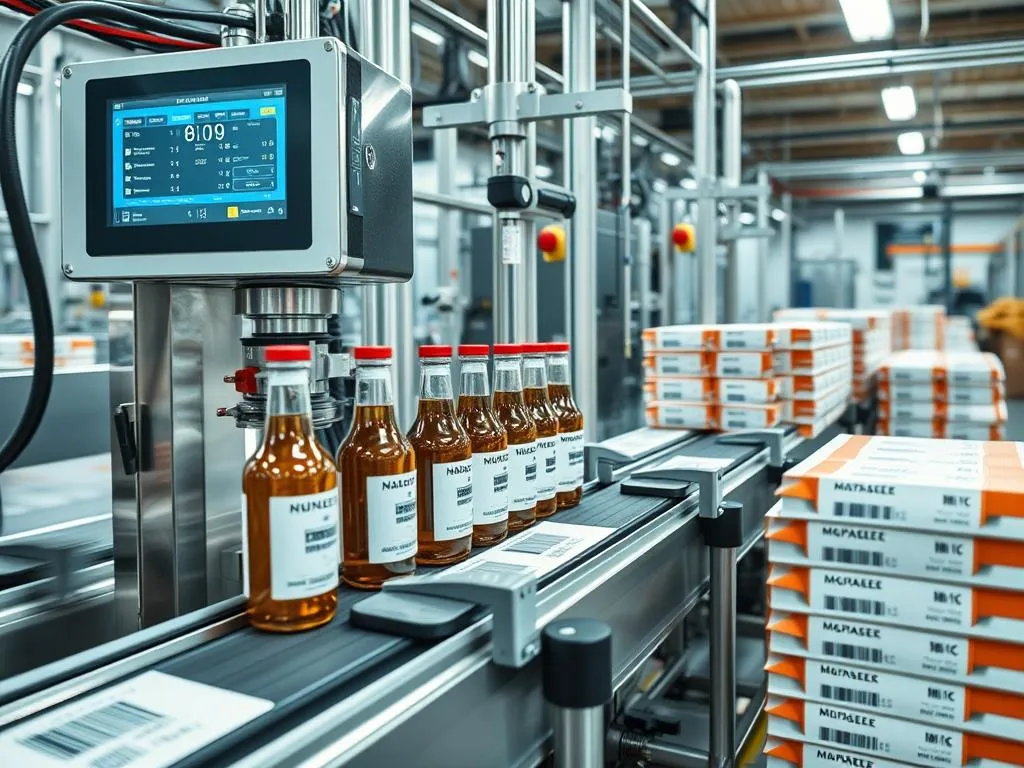
Speed claims can be misleading, so we teach buyers to plan from real run data. Start with rated speed in cases per minute, then subtract losses from stops and recovery time.
For example, when you compare case erectors and case sealers, some suppliers publish rates such as an erector “up to 15 cases per minute” and sealers listed up to higher speeds, but your true result depends on your case and your site conditions.
Here is a quick planning table we use to connect brochure numbers to real production speeds:
| What to measure | How to measure | Why it matters |
| Output rate | sustained run, 30–60 minutes | shows real throughput |
| Stop count | record every stop event | reveals weak points |
| Recovery time | time from stop to restart | affects total output |
| Quality loss | rework and rejects | shows real cost |
OEE as a shared language: Availability × Performance × Quality. It helps align operators, maintenance, and management around productive time.
Controls decide whether a line feels calm or fragile. A good system has clear alarms, clear recovery steps, and a straightforward hmi screen—this is the easiest path to a high-performance line that operators trust.
We aim for a system that is user-friendly by design. Plan for minimal training on three tasks: loading blanks, clearing jams, and restarting safely. When the system is easy to run, you gain ease of use and you can increase uptime on busy days.
Ask for these practical features:
This is also where you test adaptability: if you add new formats later, can the controls support them cleanly?
In B2B projects, safety works best when it is planned early, not patched later. Here are the most referenced frameworks we see in export-oriented lines:
In the US, OSHA 29 CFR 1910.147 is a core reference for controlling hazardous energy during service and maintenance (lockout/tagout).
In the EU, plan your compliance path around the Machinery Regulation timeline to avoid late-stage redesign.
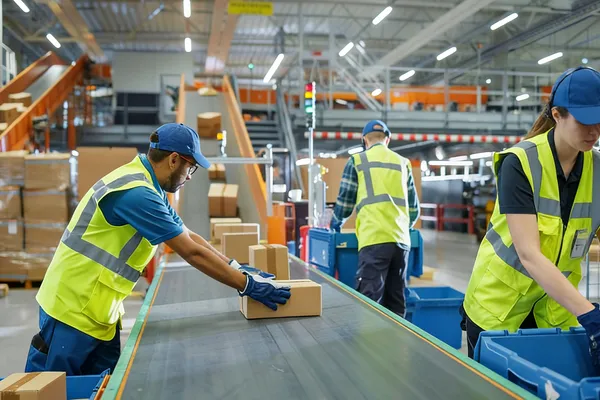
A mixed-SKU distribution site serving personal care and DTC channels had seasonal spikes and frequent staffing changes. Their existing packaging used a manual case build step and hand sealing. Output varied by shift, and weak closures led to rework and claims.
We installed a compact segment: a case erector and sealer combination with clear guides, quick jam access, and a simple recovery routine. The biggest win was predictability, not peak speed—especially when the operation ran mixed case packing for retail and e-commerce orders.
1) Define your requirements
2) Confirm what is included
A quote should list packaging machines including: conveyors, guarding, sensors, and any needed sealing equipment. Confirm the count of pieces of equipment, the power/air requirements, and who owns integration (controls and conveyors).
3) Performance questions that matter
4) FAT/SAT checks
5) Trade-offs
To streamline your project, document your line stops for two weeks. This is the fastest way to streamline packaging changes without guessing. We use that data to optimize selection and propose practical automation equipment and automation solutions that fit your plant.
This table helps you choose based on real work patterns, not marketing, and to select an efficient and reliable setup.
| Option | Best fit | Watch-outs |
| semi-automatic | high mix, short runs | relies on consistent operator action |
| automatic case | steady SKUs, repeat runs | needs stable blank supply |
| automated case | scaling, stable flow | requires discipline in recovery and settings |
How do I pick tape or glue for my cartons?
Start with shipping stress: drop risk, temperature, and storage time. Then trial both methods and inspect the seal after handling.
What real output should I plan for?
Plan from sustained results, not peak. Measure rate, stops, and recovery during a real run, then calculate your true output.
How many cartons can a case erector handle?
Most models cover a defined range. Share your min/max blanks and we will confirm the supported window.
What should I check during a factory acceptance test?
Run your real blanks, record jam recovery time, and inspect squareness and seal quality. Also verify energy isolation procedures.
Can you integrate into my line with conveyors and palletizing?
Yes. We design the interface to downstream accumulation and palletizing so the line runs smoothly.