Tel./WhatsApp:
+86 15266206885
E-mail:
[email protected]


Avoid your inquiry is delay response, please enter your WhatsApp/Skype along with the message, so we can contact you at the very first time.
We will reply you within 24 hours. If for urgent case, please add WhatsApp/WeChat: ,. Or call directly.
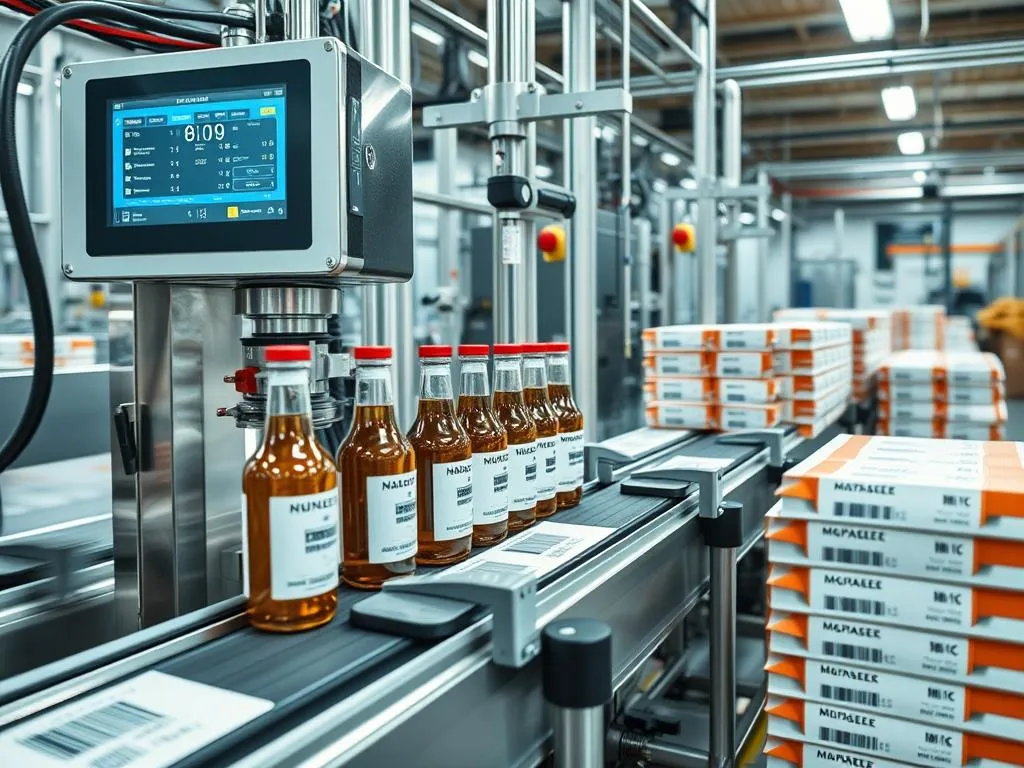
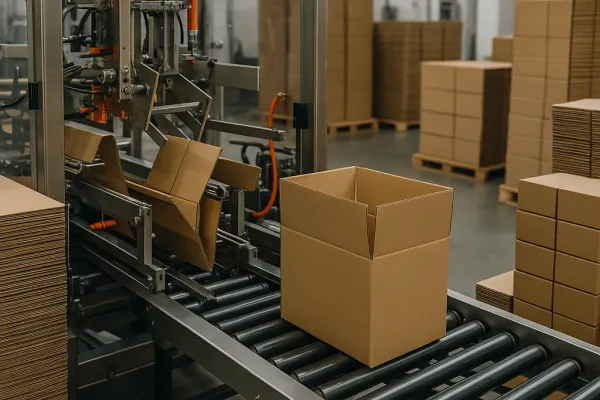
Damaged cartons, loose bundles, and slow hand-packing eat margins. Downtime rises, returns spike, and customers notice. A shrink wrap machine solves this with fast heat, clean seals, and a neat package—so every order ships tightly and securely in minutes.
To use a shrink wrap machine, select the right shrink wrap (and width), adjust the sealer and tunnel temperature and speed, place the product in film, seal, then send it through the heated tunnel to shrink the wrap around the item. Inspect for tightness and trim excess. Follow safety rules and verify settings per product dimension and film.
Shrink wrap is a thin plastic film that contracts under heat and conforms to an item, forming a snug protective skin. When you wrap and then heat it, the film grips, creating a clean package that looks professional and arrives tightly wrapped.
Why it matters to your business:
As a professional manufacturer of automatic packaging machines, we design shrink packaging systems that meet factory safety norms and global quality expectations. That includes all-in-one solutions, modular frames, and combo setups (a sealer and heat tunnel together).

At its core, a shrink wrap machine does three things:
You get a neat wrap by controlling three variables: heat, time, and airflow. The heat source to shrink is either electric heaters in shrink tunnels or, in small setups, a heat gun (handy but slower).
There are different types of machines available, each with strengths:
Choose based on throughput, SKU mix, operator count, and package dimension:
Rule of thumb: If you ship 1,500–3,000 units/shift, semi-automatic makes sense. Above that, step into automatic shrink wrap.
A. Film & frame
B. Sealing
4) Place the item, pull the film over, and lower the sealer (typical l-bar sealer for retail).
5) Verify a clean seal—no holes, no burnt edges.
C. Shrinking
6) Send the item into the heated tunnel. The heat source to shrink is electric coils in most machines.
7) Adjust settings (temperature, conveyor speed, airflow) so the film contracts tightly without bubbles.
D. Finish
8) Inspect for wrinkles, dog-ears, or weak seams; trim excess.
9) Stack, label, or direct to downstream weighing and case-pack.
Quick-start checklist (copy to your SOP):
- Power ON: tunnel preheats 10–15 min
- Film: center-folded, microns checked
- Guides: squared; sealer pad clean
- Trial pack: 3 samples -> adjust temp/speed
- QC: seam strength, corners formed
- Safety: guards in place, E-stop tested
Start low on heat, raise in small steps, and match conveyor speed so film finishes shrinking near tunnel exit. Overheating thins film; too cool leaves “orange peel.”
Typical starting points (guidelines, not absolutes):
| Film (μm) | Tunnel Temp (°C) | Conveyor Speed | Notes |
|---|---|---|---|
| 12–15 | 140–160 | Medium-fast | Retail smalls |
| 19 | 150–175 | Medium | General merchandise |
| 25 | 160–185 | Slower | Heavier kits |
| 30+ | 170–195 | Slow | Bulky cartons |
Sealer temperature & dwell: just enough to create a smooth, strong seal without smoke.
Air balance: direct jets away from loose flaps; use baffles to avoid hot spots.
“Why is my film cloudy?” Some films clarify when fully shrunk. Underheating can keep them hazy.
Safety basics:
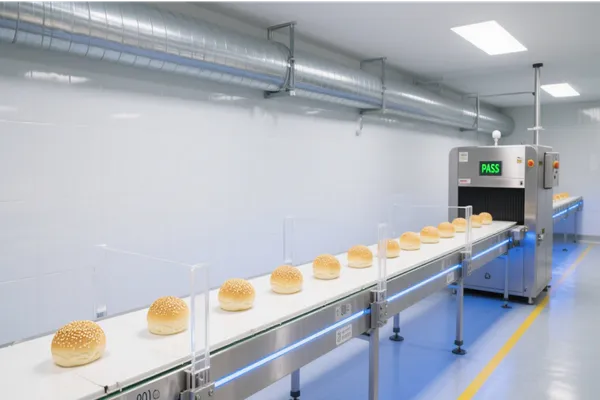
Quality checks:
Performance proof (shop-floor numbers):
Defect Rate (per 1000)
Before:  ██████████ 12
After :  ████        4
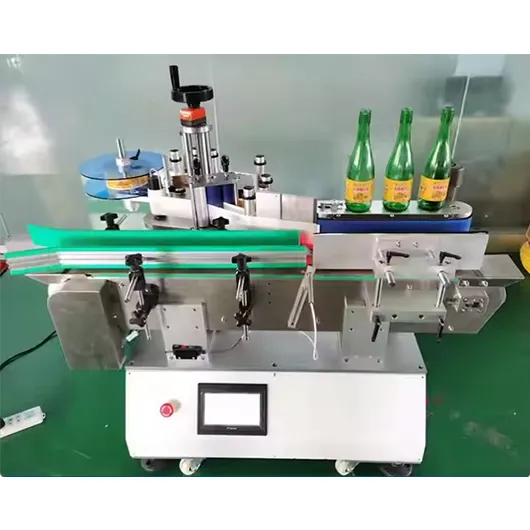
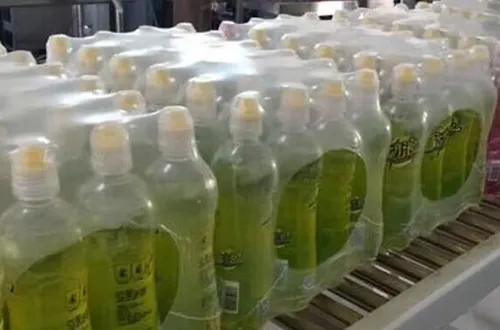
If you’re labeling bottles, try a steam tunnel for even heat around curves. For tamper bands, the bottle-neck geometry matters—use mandrels to center the sleeve.
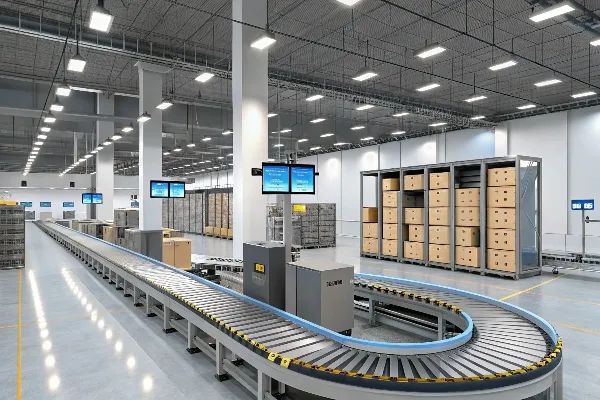
A shrink wrap machine becomes a powerhouse when it talks to the line:
Add an automatic L-sealer when you need continuous motion. For long products, side sealers avoid length limits. A combo frame saves floor space; separate modules are more flexible for future machines available.
Maintenance that pays back:
TCO levers:
Buying tips from our floor (as a packaging industry OEM):
Verify changeover under 10 minutes for your SKU mix.
Ask for UL/CE compliance.
Request live tests using your real products and package sizes.
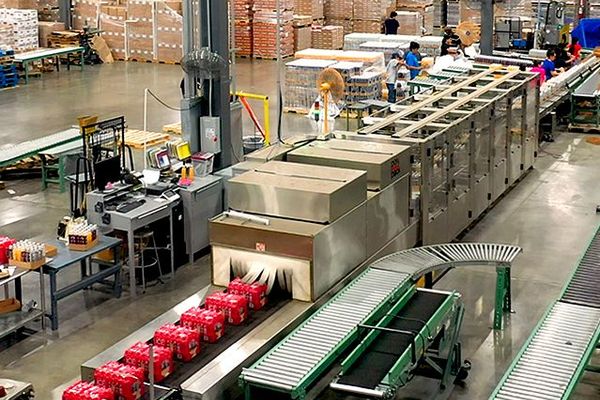
A regional beverage co-packer needed a retail 6-pack packaging solution with fewer returns. We specified an automatic L-sealer + mid-length tunnel and standardized the setup (temp 170 °C, belt mid-slow). Defects fell 70%, and throughput improved 28%. The brand loved the glossy finish and stronger protection in mixed pallets.
What’s the best film for retail kits?
Most teams start with polyolefin shrink wrap for clarity and toughness. Match gauge to product dimension and weight. For odd shapes, test two gauges to find the best balance of protection and appearance.
Can I run many SKUs on one line?
Yes. With guides, recipes, and a combo setup, you can switch over in minutes. Use stored settings for temp and conveyor speed, then test three samples.
When do I pick a side sealer over an L-bar sealer?
If your items are long or variable in length, side seal designs keep pace. Otherwise, an l-bar sealer is cost-effective and flexible.
Do I need a heat gun?
A heat gun is useful for touch-ups or very small parts. For production, rely on a tunnel for even finish and fast cycles.
Is shrink-wrapping greener than a box?
It depends. Using the right gauge can cut corrugate and shipping mass. Always keep waste low, right-size the film, and use recycling where possible.
How do I size the film?
Measure dimensions and add allowance for seams. Your OEM can help pick the width and slip properties for moisture or scuff resistance.
If you’re ready to move from slow hand-packing to clean, securely wrapped products, talk to the professional manufacturer of automatic packaging machines who built these lines for many businesses like yours. We’ll specify film, tune the sealer, right-size the tunnel, and deliver the uptime you expect.
| Application | Film Gauge | Tunnel Temp (°C) | Belt Speed | Notes |
|---|---|---|---|---|
| Cosmetics 2-pack | 15–19 μm | 150–165 | Medium | Gloss focus |
| Small electronics | 19–25 μm | 160–175 | Medium | Corner rounding |
| Multi-SKU bundle | 25–30 μm | 170–185 | Slow | Load stability |
| Food trays | 19–25 μm | 160–175 | Medium | Anti-fog optional |
Explore these solution pages to compare machines available and layouts: